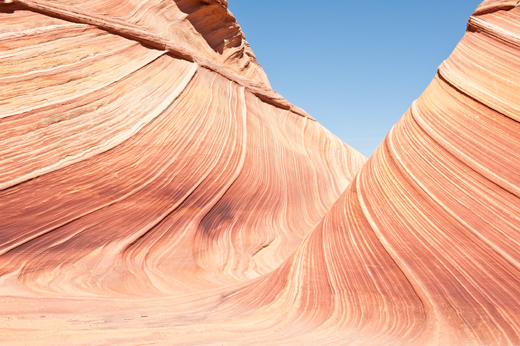
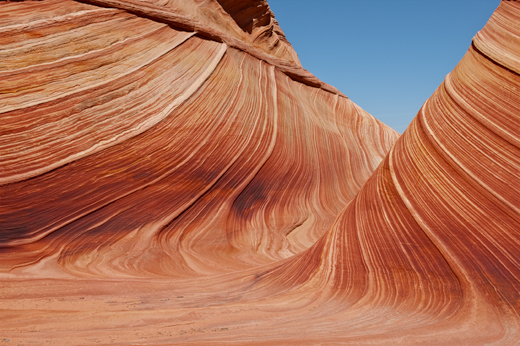
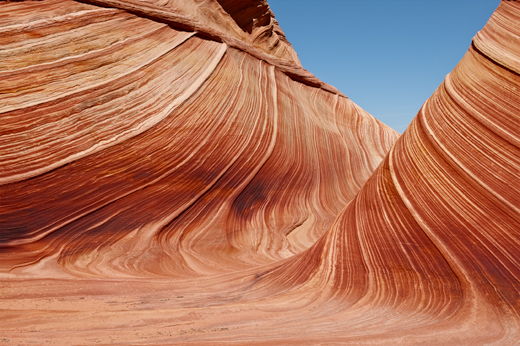
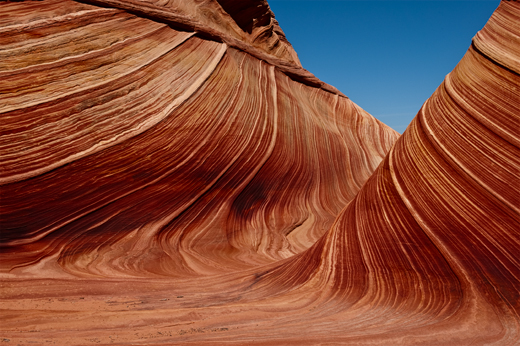
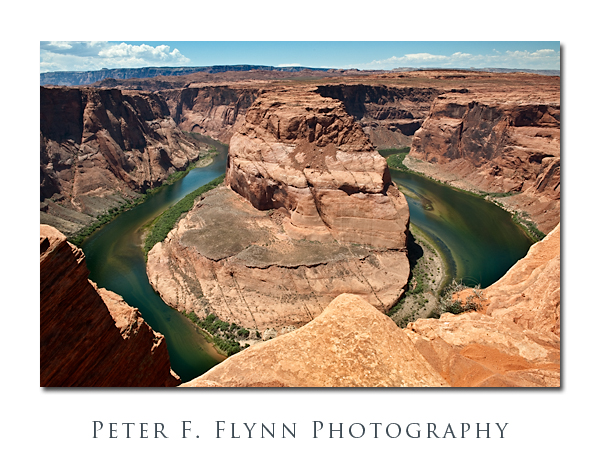
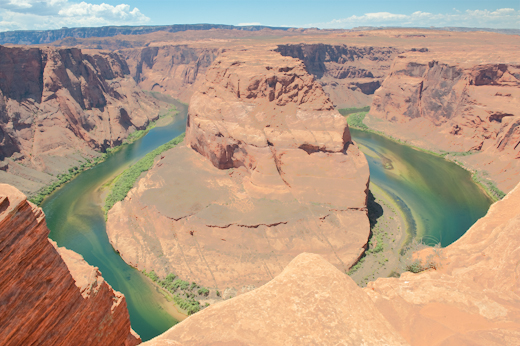
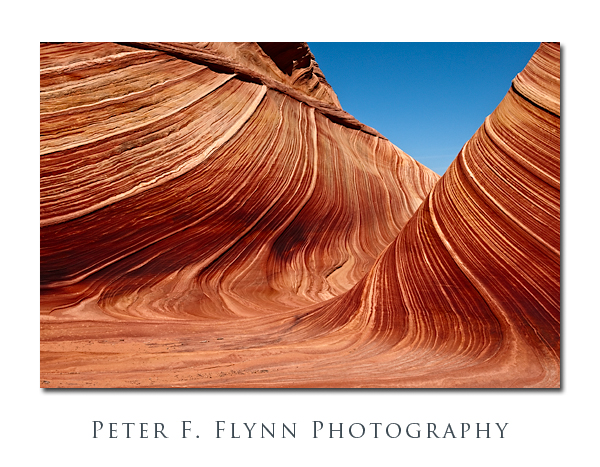
 The image above was recorded in The Wave at about 12:20 MST on August 27, 2009, using the Nikon D700 and the AF-S NIKKOR 24-70mm f/2.8G ED lens at 45mm. Exposure was f/16 at 1/250s, with an ISO of 200. The Wave is found in the Coyote Buttes North section of Vermilion Cliffs National Monument in Utah/Arizona.
In a previous installment in this series I’ve indicated that the contribution to image contrast of the individual red, green, and blue channels are unequal. In fact, the green channel contributes twice as much as the red channel, and the red channel contributes three times as much as the blue channel. There are quite natural reasons for this curious channel weighting, which we will consider in a future entry. For the current consideration we will focus on how we can modify the apparent weighting of the contributions of the individual R, G, and B channels.
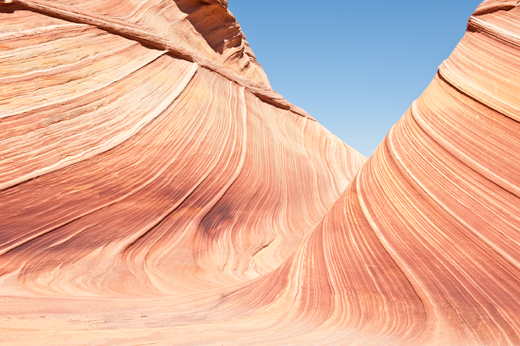
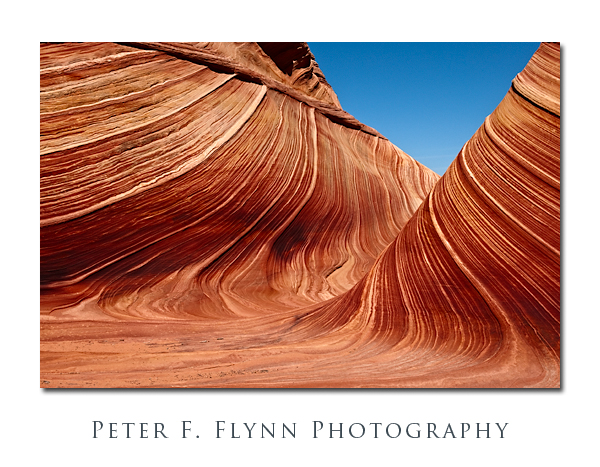
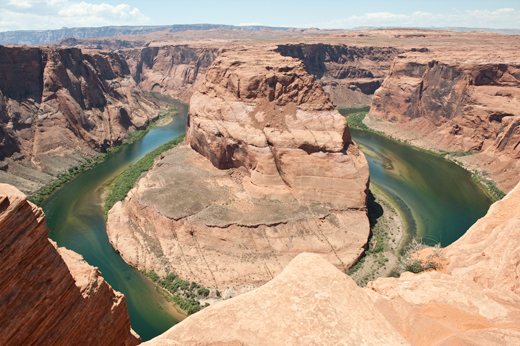
The book says that an image recorded at midday is likely to be weak, e.g., lacking color saturation and contrast. Admittedly, perhaps the composition is a bit ordinary, but there is nothing lacking in the image above in terms of image contrast and color saturation. On the other hand, and as is shown below, that is not how this image started out.
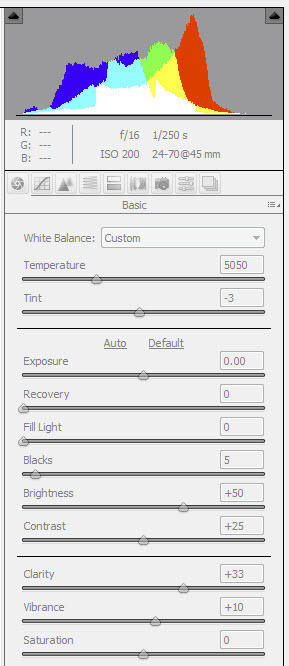
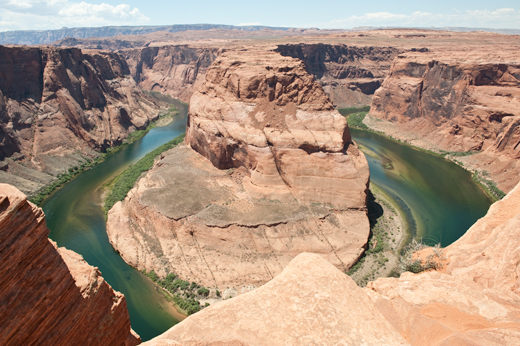
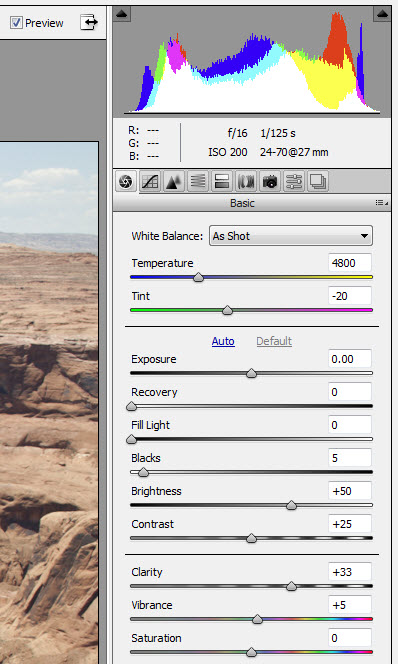
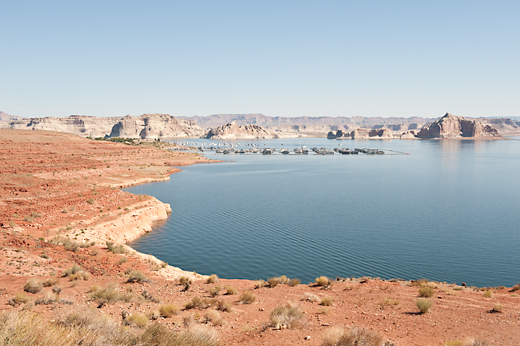
Well, this is obviously an overexposed image you might say. Nope, check the histogram.
I bracketed this shot too, and this is the best compromise between overexposed and muddy. The lack of contrast is a result of shooting the scene with the sun pretty much exactly overhead – what audacity!
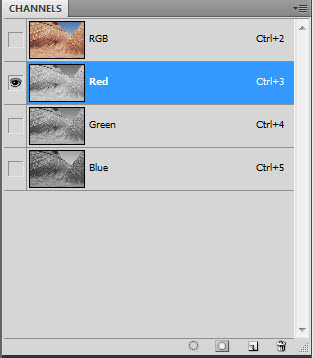
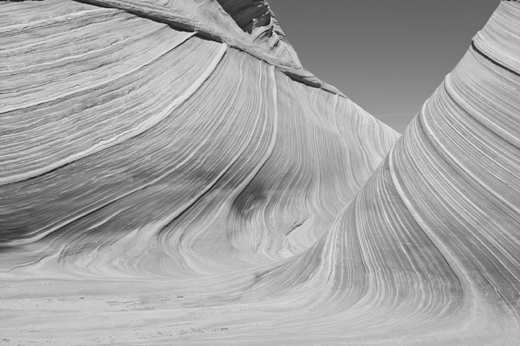
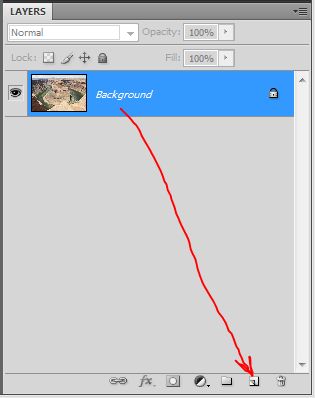
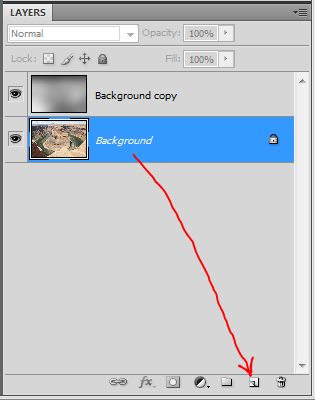
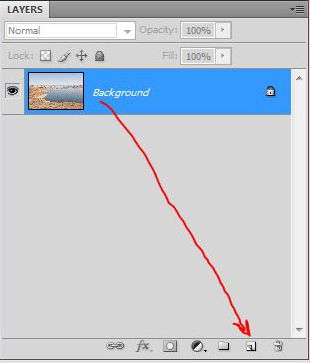
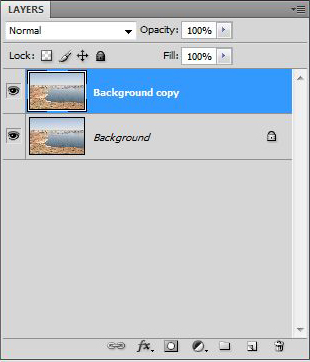
We appear to have quite a way to go to bring the source image to the final image, but it’s actually quite straightforward. Begin by reviewing the red, green and blue channels of the source image. First copy the Background layer, (cntl>j (<cmd>j on the Mac) to generate a new layer (Layer 1). Then select the red, green, and blue channel panels in turn in the CHANNELS palette.
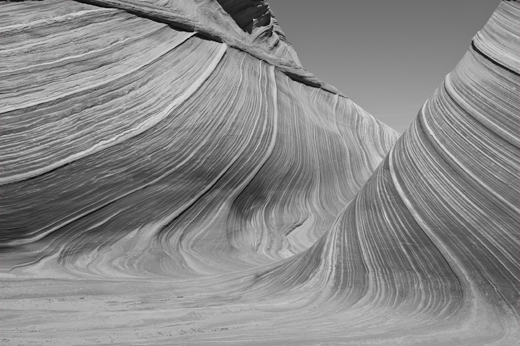
As you can clearly see below, the green channel possesses much better contrast than the red channel – this channel is in pretty good shape.
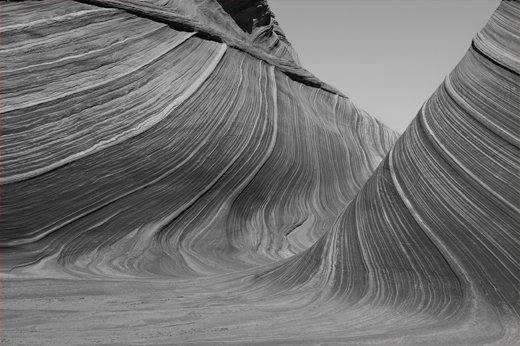
The blue channel (below) has much better contrast than the red channel.
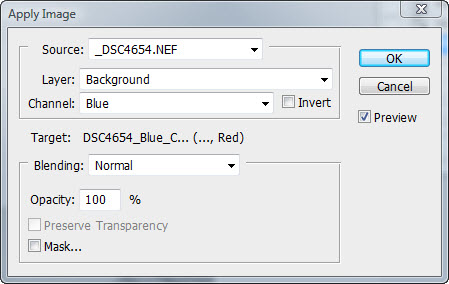
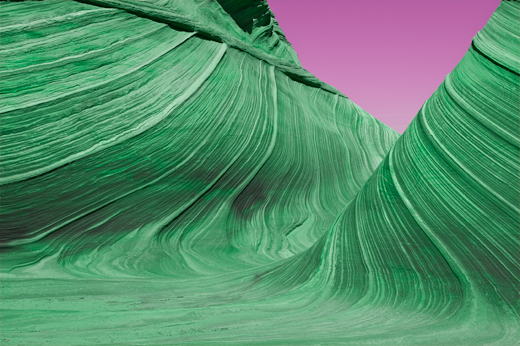
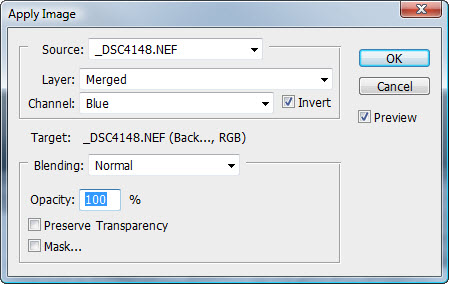
To enhance contrast in that weak red channel we simply replace the red channel (blend) with the blue channel. To accomplish this replacement, we employ the Apply Image tool to execute the blend by first selecting the red channel, and then typing Image > Apply Image, and then specifying that the blue channel be added to the red channel in Normal blending mode at 100% opacity. The result is shown below.
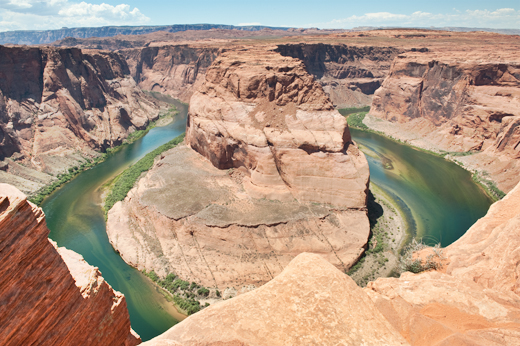
While you might be able to appreciate the contrast enhancement, the resulting influence on color dominates your impression. We can restrict the influence of channel blending by changing the blending mode of the Background copy layer to Luminosity. The result of the change in blending mode is shown below, with the original source image shown below that image for comparison.
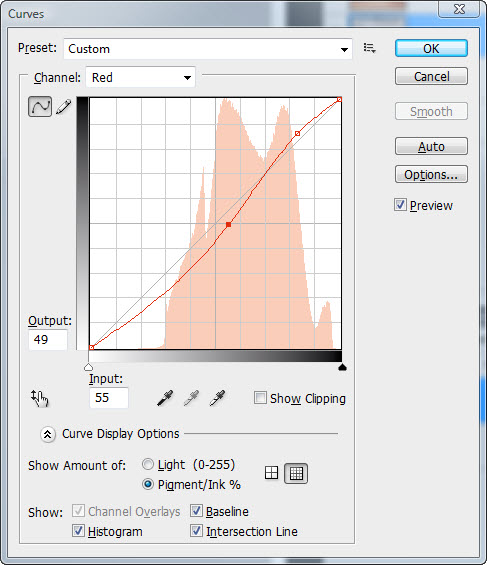
This is a significant improvement. The contrast is then further enhanced by applying a curves adjustment to the red and green channels (you could also apply a curve to the blue channel, the influence on the overall image contrast would be small).
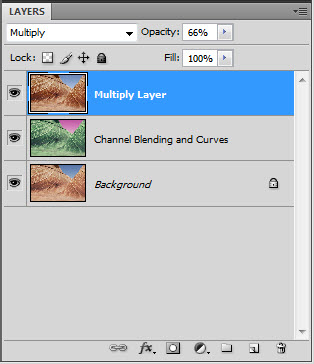
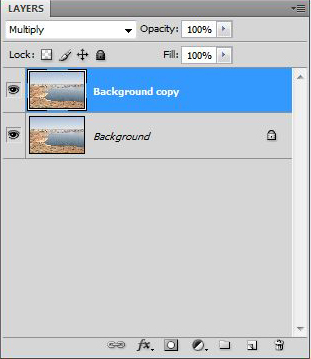
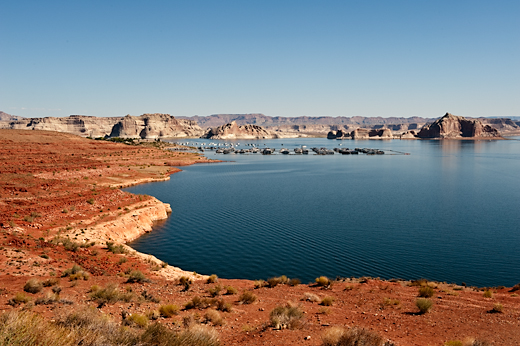
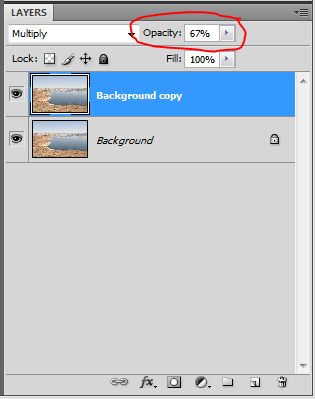
To finish processing of the image we apply the image to itself in Multiply blending mode by first flattening the image, and then copying the resulting layer and changing the blending mode to Multiply.
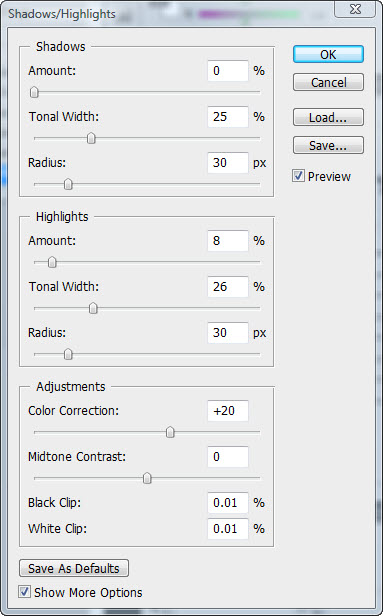
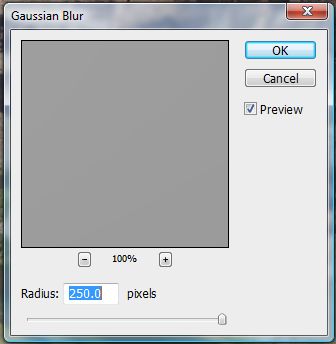
Finally, we apply Shadow/Highlight adjustment to open up the mid tone range a bit: select Image > Adjustments > Shadow/Highlights…
I hope that you’ve found this entry useful. If so, please drop me a line and let me know what you’d like to see in future posts. Cheers, P.
Copyright 2010 Peter F. Flynn. No usage permitted without prior written consent. All rights reserved.
