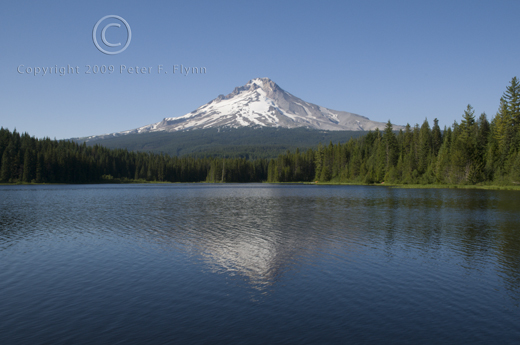
A few of you have expressed interest in an overview of my current workflow. For those of you who may be new to the game, ‘workflow’ simply refers to a series of common adjustments made to enhance the image. Fortunately, most images look pretty decent right out of the camera these – on the other hand, almost none of those images look as good as they could with a few simple adjustments – this basic workflow should get things on the right track. I was planning to use an image from the Crater Lake area (see the Feb 9 entry), but for technical reasons that I’ll discuss in a future entry, instead we’ll consider the image shown below of Mt. Hood shot from Trillium Lake. It’s an iconic image that I suspect everyone recognizes. The composition is pretty static, but it is a reasonably well-exposed image that suits the current purpose. In my view, the image is a little too blue, so we’ll first be looking at adjusting the white balance.
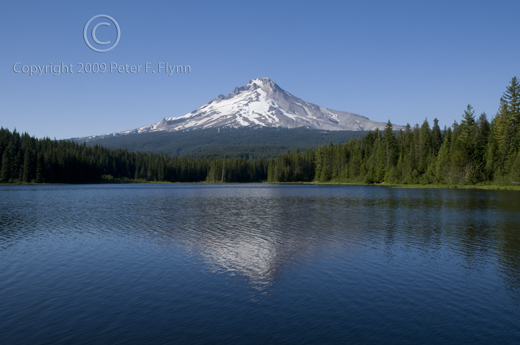
This image was recorded on July 23, 2008 at about 18:00 hrs using the Nikon D300 and the AF-S NIKKOR 16-85mm f/3.5-5.6 lens at 24mm. Exposure was f/16 and 1/100s, ISO 200. The image above is straight out of the camera with only the default processing the accompanies raw image conversion, specifically Camera Calibration ACR4.4 – more on this in a bit. I am using Adobe CS4 for the image processing and Adobe Camera Raw 5.3 (ACR5.3) to conduct the raw image conversion. The raw interface is shown below:
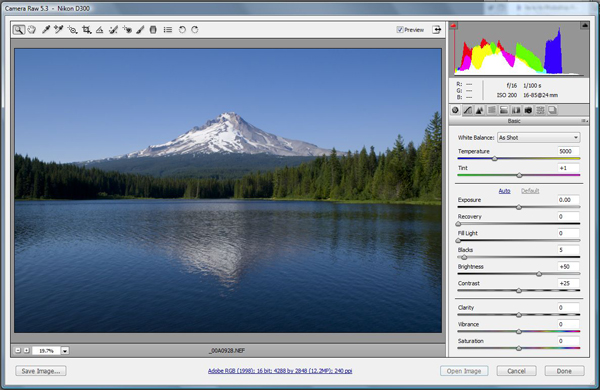
It’s a little difficult to read the text in the image, but you can see that there are two main sections, one along the top bar on the left, and the other main panel on the right hand side of the interface. Let’s first zoom in on the main panel on the right:
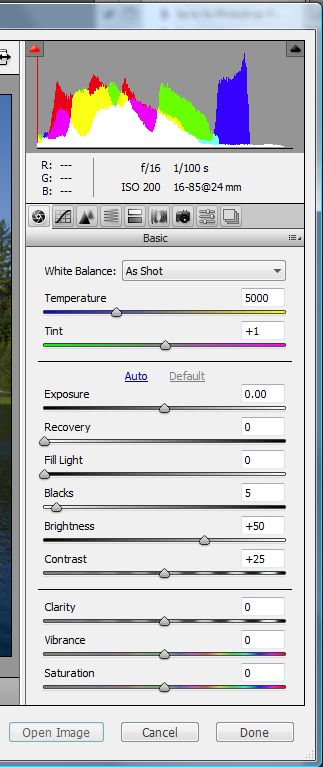
From top to bottom we find the histogram of the current image; exposure information/focal length/ISO settings; a series of nine icons that represent the most common raw adjustments; a section for white balance adjustments; a section for exposure adjustments; and a section that includes some adjustments that might not be as familiar as some of the others that includes adjustments for Clarity, Vibrance, and Saturation.
The general strategy will be to verify/adjust/correct color in camera raw, followed by contrast adjustments – first in camera raw, and then using a combination of the Eyedropper Tool (in Lab color mode) and curves adjustments on the individual RGB channels. There are several ways to rationally adjust white balance. Perhaps the easiest method is to exercise the White Balance pull down menu from the main panel:
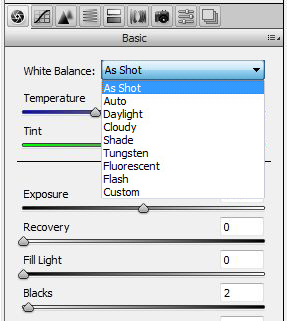
This list of default white balance options will be familiar to anyone who has shot images in the raw format. Perhaps you just leave your white balance set to ‘Auto’, since this works pretty well for a wide variety of scenes. A significant benefit in shooting raw will be that you can always adjust WB post-capture. It’s pretty easy to simply work through the menu options from ‘As Shot’ to ‘Flash’, and select the one that renders the most pleasing image. You’ll notice that each white balance menu selection generates changes in both the (color) Temperature and the Tint.
The Temperature/Tint combination generated by your white balance menu selection may be further refined by adjusting these sliders to suit your taste. Note that the Temperature slider controls the color/yellow color contribution, while the Tint slider controls the green/magenta contribution – this color opposition relation is fundamental, and we’ll see it again when we take a look at what the Lab color space can do for us.
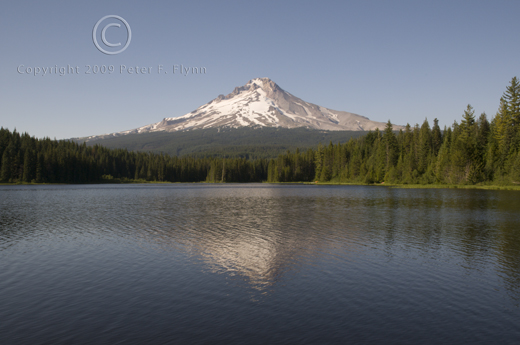
The embedded ‘As Shot’ white balance for this image sets the Temperature at 5100 and the Tint at -1:
Auto white balance sets Temperature at 7500 and Tint at +11: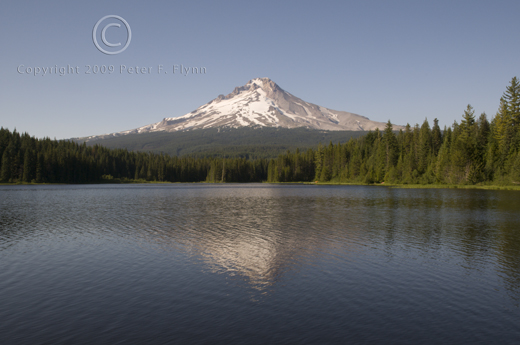
Daylight white balance sets Temperature at 5500 and Tint at +10: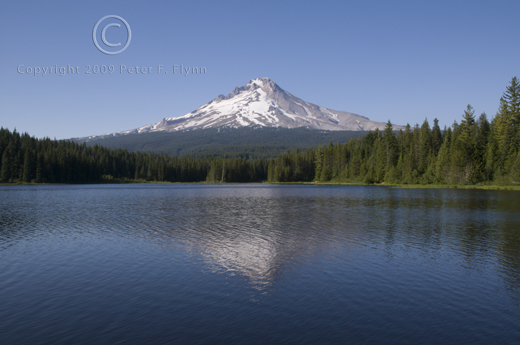
Cloudy white balance sets Temperature at 6500 and Tint at +10: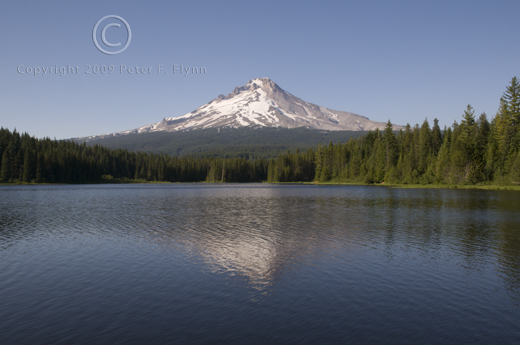
Shade white balance sets Temperature at 7500 and Tint at +10, e.g., close to the Auto setting:
Tungsten white balance sets Temperature at 2800 and Tint at 0: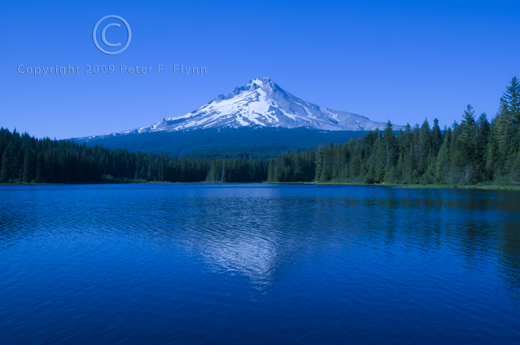
Fluorescent white balance sets Temperature at 3800 and Tint at 21: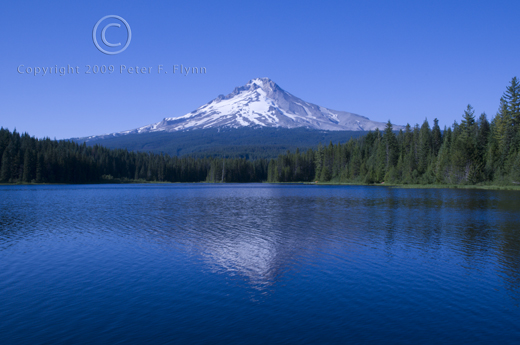
Flash white balance sets Temperature at 5500 and Tint at 0: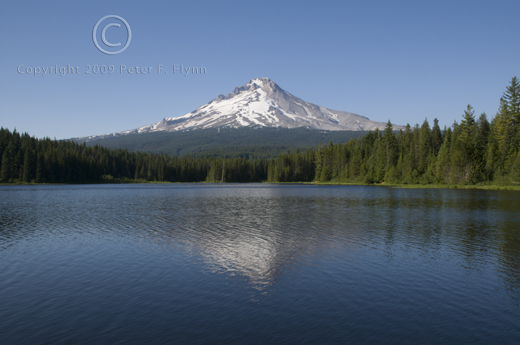
After reviewing all options I next used the White Balance Tool that may be found on the left side of the top bar – icon third from the left that I’ve smudged up with the yellow digital marker:

As those of you who have been following this diary already know, I am a big fan of neutral white balance cards for setting a proper starting point white balance adjustments. If we had used the WhiBal card, we would have touched the portion of the image with the card with the White Balance Tool and jotted down the Temperature/Tint values and simply transferred those values to the working image. I didn’t have a WhiBal card here though, so we’ll have to wing it. After selecting the White Balance Tool, you simply click around on putative neutral gray regions until you find a spot that best expresses the quality of the light present at the time of exposure. Obvious targets in this image would be the snow or the rock adjacent to the snow. This selection can be further refined, as before, by adjusting the Temperature/Tint sliders to provide precise adjustment of the white balance. I thought that a favorable estimate of the prevailing light was defined by 5450/-2, and the adjusted image is shown below:
