If you’ve spent any time at all reviewing images on the camera LCD, or in Adobe Bridge, you will have noticed that (generally speaking ) the jpeg images that were processing by the in-camera software sometimes (mostly) look much better that the initial raw images. In fact, maybe you’ve even decided to shoot high resolution jpegs along with raw images to get at those nice looking images. With the release of Adobe Camera Raw 5.2 (ACR5.2) you can now incorporate some of the in-camera look directly into the ACR interface. Select the Camera Calibration icon, which is the third one from the right in the row of icons:
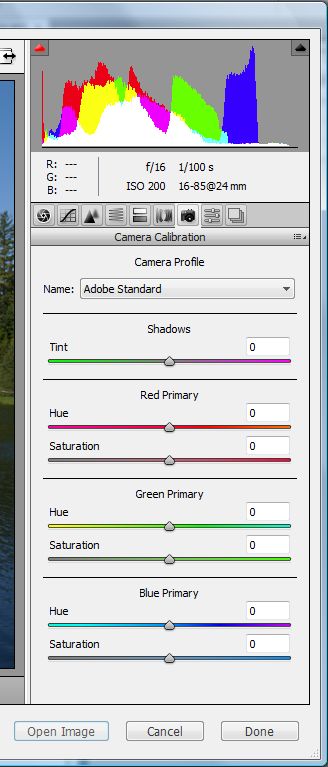
Under Name you’ll find for the default value either Beta or Adobe Standard depending on your upgrade path from CS3 (and apparently there are other possibilities). In previous versions of Camera Raw one or two of several versions of ACR appeared in this spot. Select the drop down menu, and some interesting new choices appear:
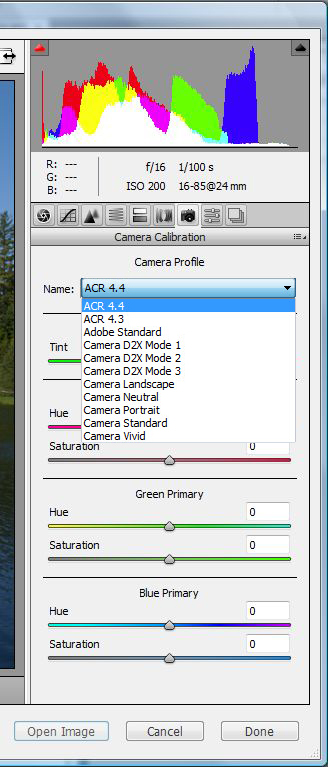
The first three choices are more or less generic options, but are worth a look. The remaining menu items are designed to mimic Nikon Picture Control options that are installed in the camera by default or can be added to the camera software system via download (for D300, D700, D3, and D3X only). Note that this specific menu will only appear if the EXIF data for the image indicates that you are using a Nikon camera.
The influence of calibration choice is shown in the series of images below.
ACR 4.4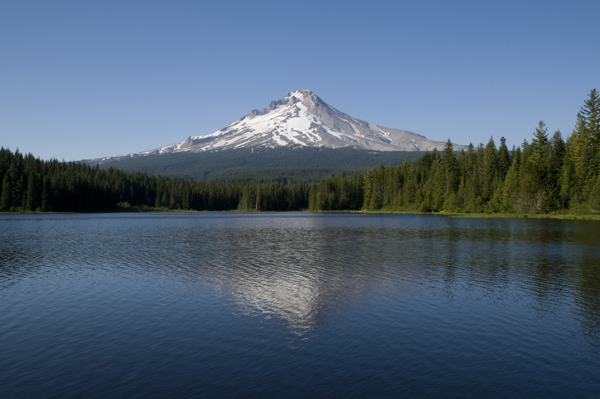
ACR 4.3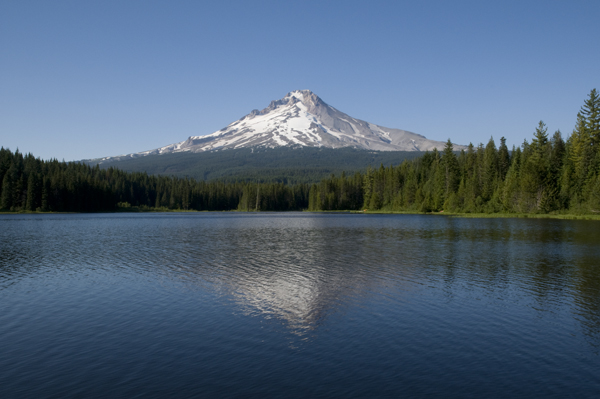
Adobe Standard
Camera DX2 Mode 1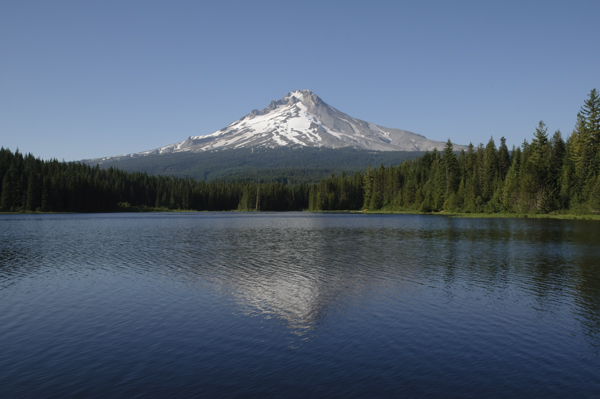
Camera DX2 Mode 2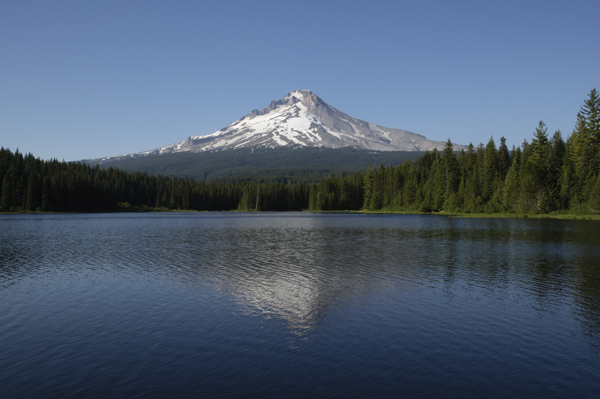
Camera DX2 Mode 3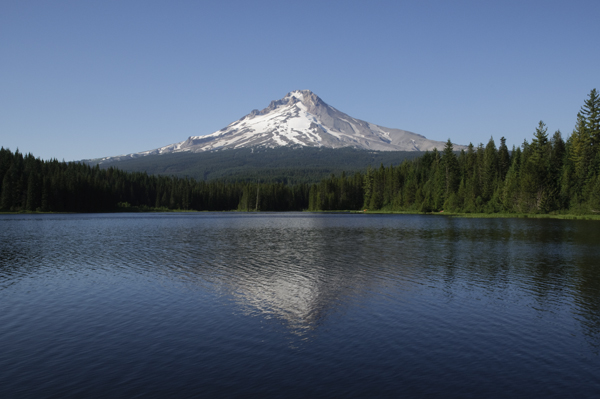
Camera Landscape
Camera Neutral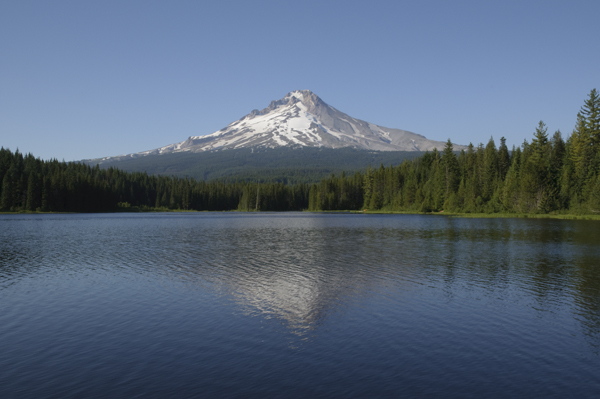
Camera Portrait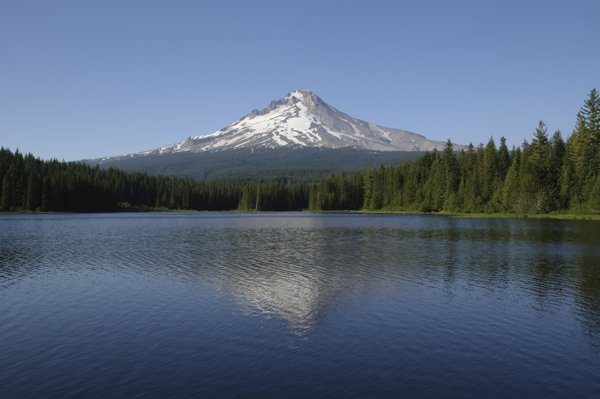
Camera Standard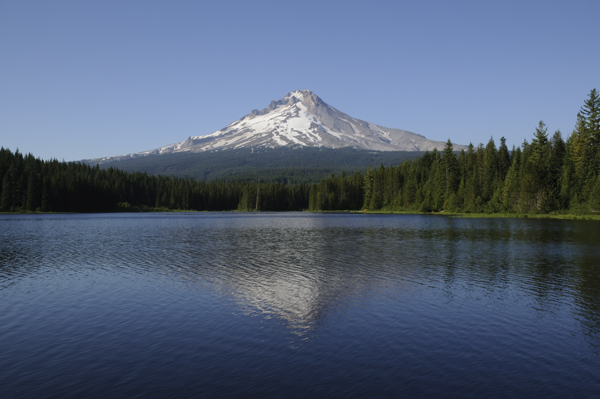
Camera Vivid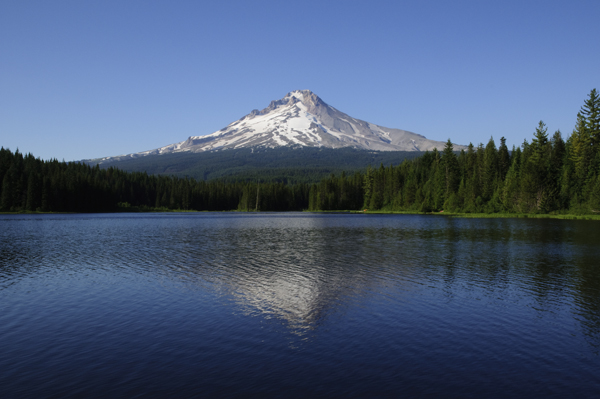
The DX2 Mode 3, Landscape, and Vivid picture control options seem to be the most pleasing selections, which is natural since these modes have been optimized for landscape/outdoor images. The effects of the various Camera Calibration presets and manipulations conducted in the Basic panel (white balance, exposure, clarity, etc., adjustments) are independent of the order in which they are applied, so that it may be that working through the various preset Camera Calibration options may become the first thing I do in the raw adjustments.
I’ve always wondered how the default conversion in Camera Raw was worked out. Martin Evening has written that Thomas Knoll (inventor of Photoshop) integrated the performance of a number of several individual examples into the conversion routine, but doesn’t offer any insights into the technical decision making process. The Camera Calibration interface was apparently originally (and remains) designed to provide a method for fine-tuning the image conversion to suit specific individual cameras. Detailed protocols for this optimization have been developed, and the reader is directed to Evening’s book and website for a clear and detailed description of one such example (Tom Fors’ Chromoholics website is also very useful) .
Part 2 of this entry will be posted as soon as the X-Rite Munsell ColorChecker chart arrives and I have a chance to run through the optimization of the D300 and the D700. Stay tuned!
Tags: ACR, Adobe Camera Raw, Camera Calibration, color management, Mt. Hood, Oregon, Trillium Lake